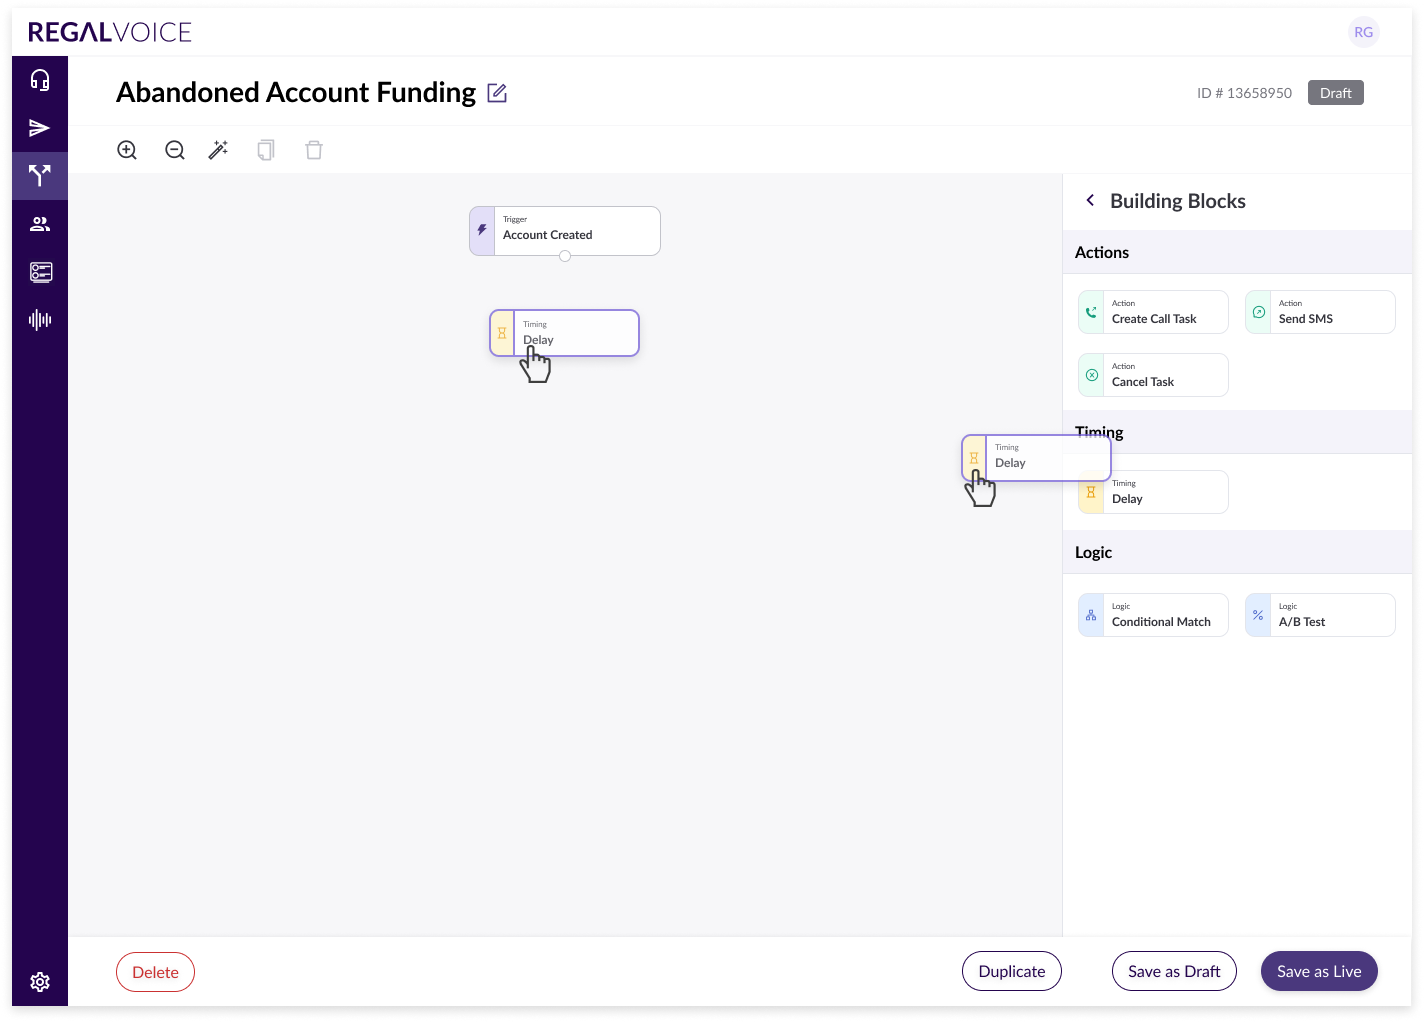
Journey Nodes
Every journey starts with a trigger node. This is what decides who enters the journey and when.
- Timing nodes let you add time in between other nodes based on certain criteria.
- Logic nodes let you send contacts down certain paths depending on the logic you set up. For example, using a conditional match node, you can check if a contact has had a certain event on their profile in the past, and then split which way the contact goes next depending if yes or no.
- Action nodes take action, such as send an sms or create a call task.
The following nodes are currently available.
Connecting Nodes into a Journey
Drag and drop a node from "Journey Nodes" drawer on the right onto the canvas.
You can then connect the node to the Trigger node by clicking the "connector" circle from the bottom of the Trigger node and dragging a line to the top of your node. When they are successfully connected your node will highlight in a purple outline. You can then let go and the nodes will be connected. You can continue to string together other nodes.
To remove a connector line, hover over the line between the 2 nodes and a purple X will appear. You can click that to remove the connection.

Nodes that are not connected can remain on the canvas and will have no impact on the journey.
Note on Journey size: There is a 1MB size limit on a single Journey which roughly translates to 150 nodes. However, Journey max size is dependent on the nodes you choose and what the content of the nodes are, for example many Webhook nodes with large payloads will mean your Journey will likely max out at fewer than 150 nodes. You can reach out to support@regal.io for help on how to optimize or break up your very large Journeys.
Journey Builder Toolbar
Zoom In - zoom into the canvas.
Zoom Out - zoom out in the canvas.
Organize layout - organize a journey's layout.
Sticky Notes - To leave context for journey functionality and collaborate asynchronously with other admins in the account.
New notes can be added by clicking on the note icon in Journey toolkit.
- Click icon and place note at desired location on the canvas.
- Enter text and hit Submit to save note entry (or with keyboard shortcuts.)
- Saved notes can be edited and deleted.
Copy - select a node or (multiple nodes by holding shift) and then click copy to copy those nodes.
Delete - select a node (or multiple nodes by holding shift) and then click delete to delete those nodes. You can also delete a single node by clicking the x on the top right of the node.
Keyboard Shortcuts
Hold command on macs or control on windows and use the mouse pad to highlight an area of Journey Nodes. Hold shift to select multiple nodes one at a time.
Other Journey Functionality
- Edit Name - Click on the edit button to the right of the Journey's name to edit. Hit enter or the green checkmark to save the new name.
- Save a Draft - To save a journey as Draft. No new contacts will enter a journey when saved as a Draft. However, contacts already in an existing journey that is switched from Live to Draft, will continue through the journey.
- Save a Live - To turn a journey Live. While a journey is Live, new qualifying contacts will enter the journey.
- Duplicate - To copy a journey.
- Delete - To delete a journey. This will cause contacts that are currently in the journey to exit and remove the journey from your account.
- Stop - To stop a journey. This will cause contacts that are currently in the journey to exit, and turn the journey to draft to prevent new entrances as well. It may take up to 5 minutes to fully stop all in-progress contacts. During that time, you should not turn the journey back to live.